
This week I would like to talk about building trees with slopes. In my first post about trees, I focused on the relative new-comer, the cheese slope. The humble roof slope provides a lot of possibilities, with its pebbly textured slope and top studs. Lets brick build some more trees!
I’ve had this post on my mind since before I went away to BrickCon. I even managed to start building some of my sample trees. Then I got back and my workspace was a mess and I couldn’t find those first prototypes and then life got in the way for a bit. Not to mention that fall has arrived here in Cascadia and there hasn’t been a lot of sunshine to photograph by.
Okay, enough excuses, on to the trees.
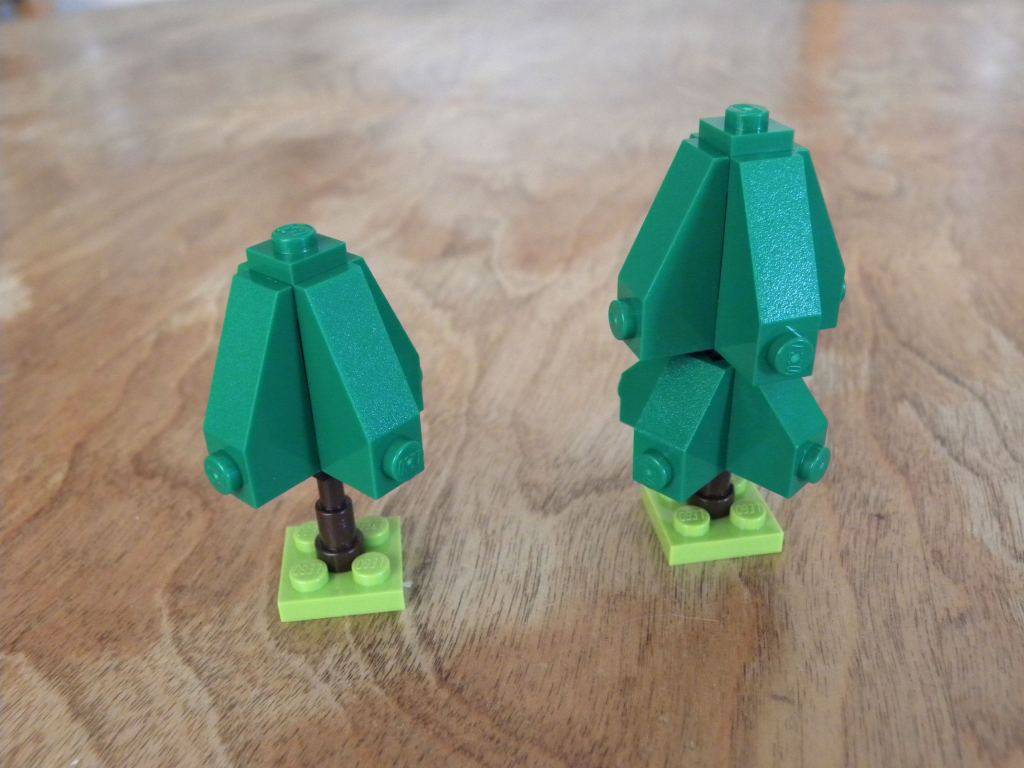
Behold these simple evergreens. I’ve used the same basic techniques as I did with the studly trees, just substituting slope bricks for plates on the sides. The resulting trees have some lovely features, providing a nice chunky look with their pebbled slopes and exposed studs. I do wish that it was easier to make them less regular, but the addition of extra layers allows for the introduction of some new angles.
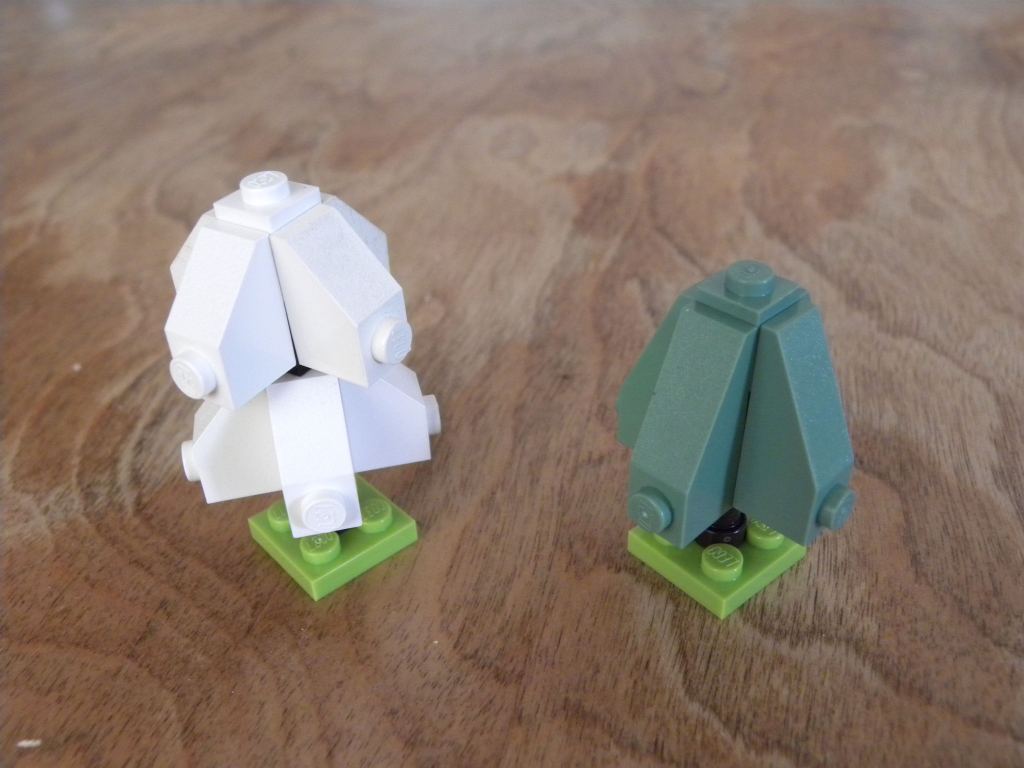
Playing with some alternate colors is interesting, but ultimately not satisfying. These trees feel a lot larger than my happy little trees, so making them in white just doesn’t feel quite as a snow-covered tree. Likewise, sand green just isn’t cutting it as a little conifer. I tried it because I had the color available, but I think I’d be happier with more vibrant greens.
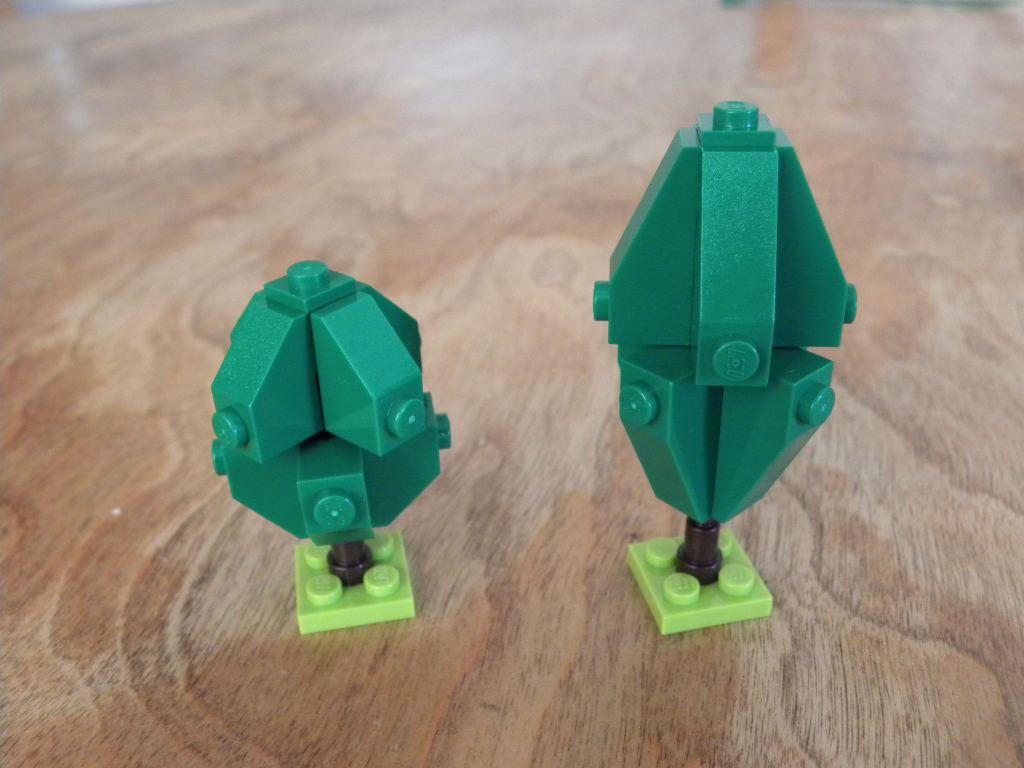
By changing the orientation of two-layered trees, I can create shapes more reminiscent of deciduous trees. Again, they are a bit chunky, but look lovely from a distance. Another interesting aspect of building trees like this is that they aren’t restricted to micro-scale. These little trees could easily but placed in minifigure-scale scenes.
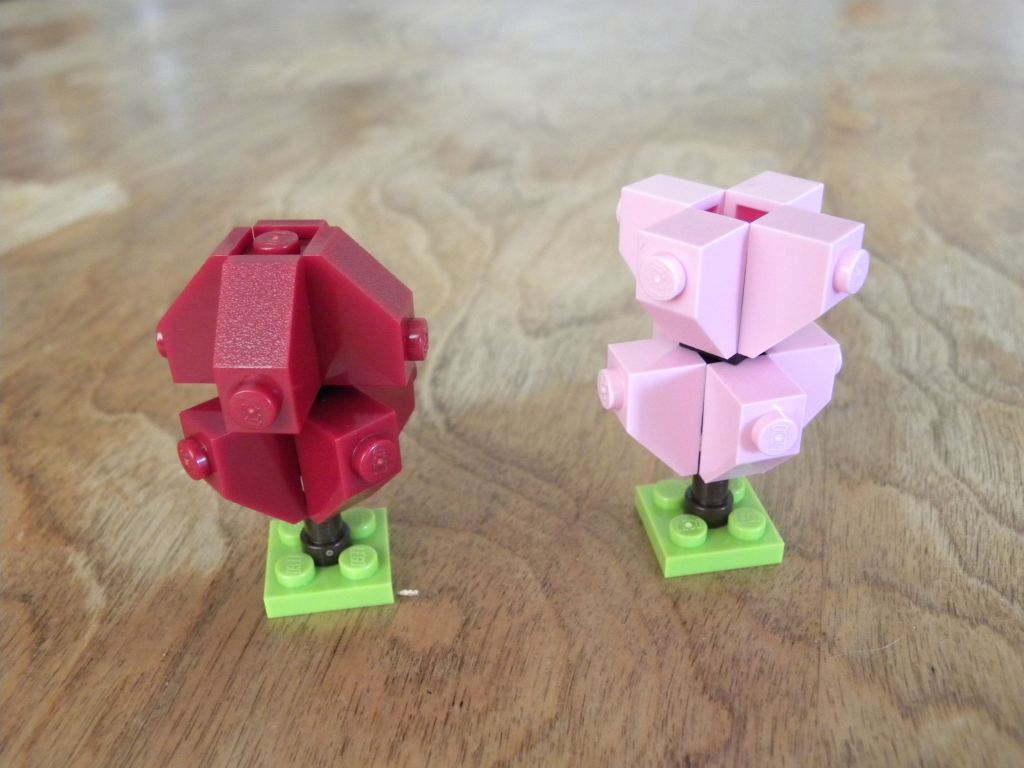
Here I revisit fall colors, switching to dark red slopes. This pretty tree has a slightly different top too, as I omitted a spacer plate and left the 1×1 at the top recessed. Little variations like this would help groves of trees feel a bit more organic. Next I tried my hand a cherry blossom tree. I tried to evoke the upward sloping branches of the trees in Kyoto, and I think that I managed to mostly capture the look. I didn’t have any bricks or plates the right size to top the tree, but I think the gap works (as long as you don’t look straight down and see that black travis brick in the center).
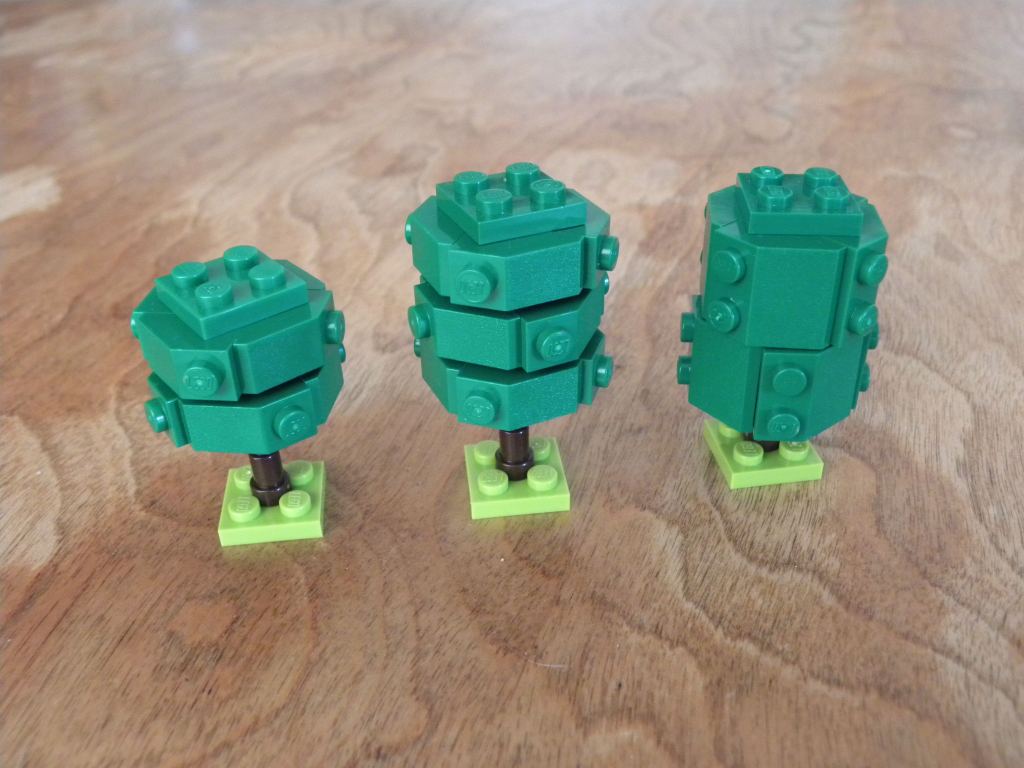
For my next batch of trees, I turned the slopes on their sides and pin-wheeled them around a spine of travis bricks. The 1×2 slopes leave interesting 1/2 plate gaps that enhance the sculpted, yet organic look. Using 2×2 slopes and spacers to make the layers fit without gaps is a bit less satisfying. I thought about topping these trees with round plates, but the introduction of curves draws too much attention to the faceted sides. The 2×2 plate is a nice compromise, suggesting a domed top.
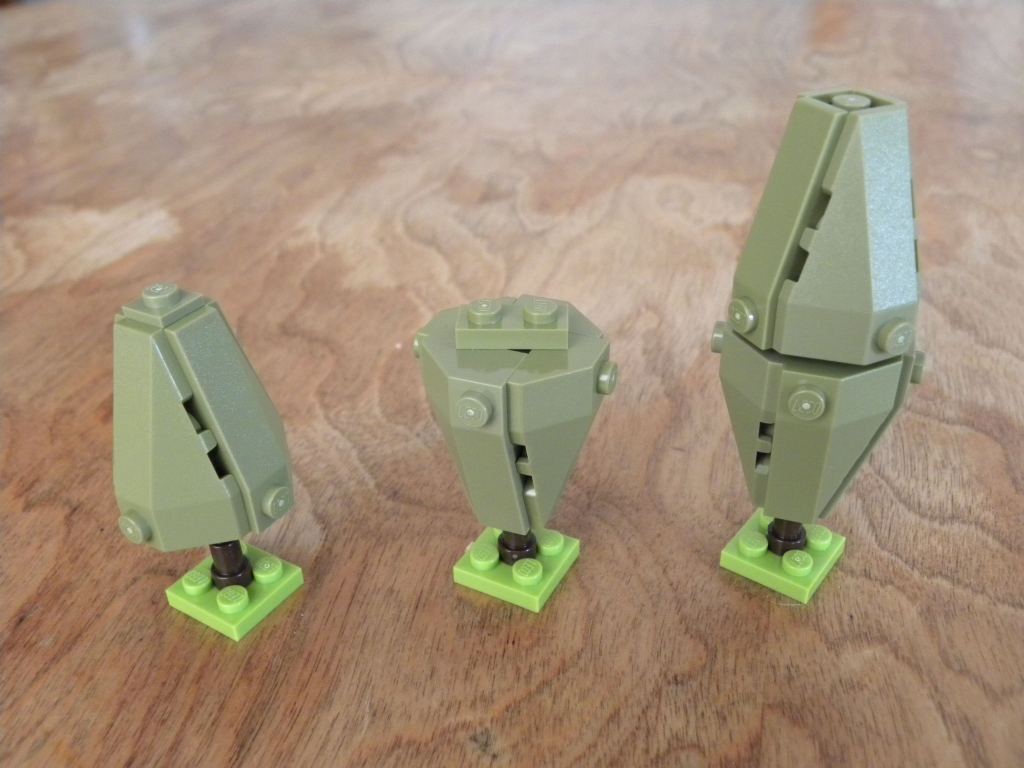
Lastly we have some experiments with more complex faceted slopes (I will explore curved slopes in a future post). I picked up all these olive lovelies in the draft at my last PortLUG meeting and I immediately put them to use here. I pin-wheeled the slopes much like the last batch of trees, but the wedge shape give much richer results. The first tree has a nice conical shape, with the look of a nicely manicured christmas tree. I like this one a lot. The inverted version doesn’t work quite as well. Topping it with a 2×2 plate might make all the difference, but I simply didn’t have the parts in my collection. The tapered ellipse is a great shape and this is one of my favorite trees of the bunch.
Again, like my previous posts, I have barely scratched the surface of what I can do with these techniques. These trees in particular are suitable for a variety of scales and could look just at home in minifigure-scale garden as they do in a microscale parkland. There are so many colors and variations.
Keep building and enjoy!